Beginner Backpacking Hydration Bladder Tips
Using a hydration bladder can be challenging for people new to beginner backpacking hydration bladders.
We put together this guide of beginner backpacking hydration bladder tips to help you decide if a hydration bladder is right for you, tips for selecting a hydration bladder size, and making sure you know how to clean and disinfect your hydration bladder to maintain it.
Contents
Are Hydration Bladders Worth It?
By changing the shape of the standard water bottle to a malleable yet sturdy bladder with an access tube, not only can you access your water quicker, but you can centralize the weight of your pack and keep your water reserves out of the way.
Many backpacks come with built-in compartments designed for the storage of hydration bladders, and an access point for a tube to pass through so that you can quickly access it while hiking. This means that you can hydrate while still moving, instead of having to stop to search for your bottle and to drink without spilling everything over you.
For these reasons, many people like to invest in a hydration pack of sorts, however, there are a few downsides. Firstly, they usually cost considerably more than a standard water bottle, and for those wishing to budget an entire outdoor inventory, getting a bottle instead is one quick and easy way to save money.
Secondly, they are more susceptible to breaking as they are made of a malleable material. To avoid leaking and piercing the surface, make sure any sharp objects are stored far from your hydration bladder in your backpack.
Lastly, it is much harder to see how much water you have left in your reserves if it is stored and accessed out of regular sight. Ensure that you have enough water packed with you and that you ration it out consistently to avoid running low on water.
There are pros and cons to both bottles and hydration bladders, and, depending on your personal preferences, you will have to decide which is best for you.
How Do Hydration Bladders Work?
While there are many differently functioning hydration bladders on the market, most of them work more or less in the same way.
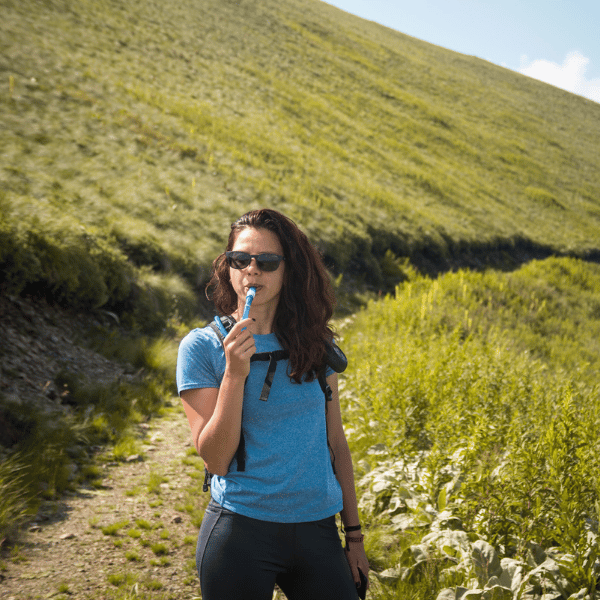
Like filling up a hot water bottle, first, you will have to put potable water inside the bladder. Then, in most cases, you will attach a tube, sort of like a long flexible straw with a mouthpiece, to the top of the bladder to seal it and to provide you access to the water supply. The entire bladder would then be placed into your backpack and the straw threaded through whatever opening your backpack has before being clipped to a shoulder strap, or somewhere else easily accessible. Then, you simply suck on the end of the tube and the water comes through.
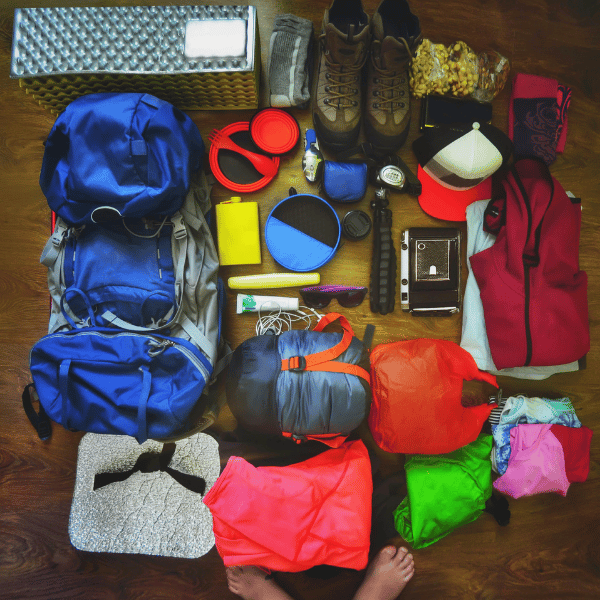
Check your backpack for a bladder pocket – these are usually at the back of the pack where the bladder will be well protected and kept warm enough to ensure the water does not freeze. You may have used it to store a laptop or tablet during transit, as it is usually roughly the same size and shape as a laptop sleeve. Also, usually around the same area and above the storage you will find small openings through which you can thread the access tube, keeping it in place for when passing it to the outside of the pack to clip to the shoulder strap.
What Size Hydration Bladder Should I Get?
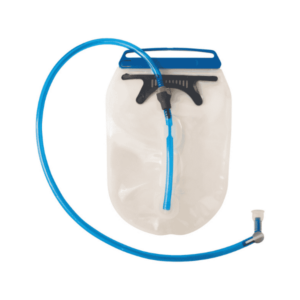
Common sizes of hydration bladders are 2 or 3 liters, but you can find smaller and larger bladders on the market. The size of your hydration bladder should directly correlate to the amount of water that you require for the entire duration of whichever activity you are partaking in. An hour of moderate hiking in moderate conditions requires roughly half a liter of water, but this amount increases if the difficulty of the hike or the temperature increases.
If you want to actively ration your water at a consistent rate, you can take a small bladder with you and some additional bottles with which to refill it when you take a pause. Just ensure that the combined capacity of the water bottles and hydration bladder is enough to last for the duration of time that you are away from a safe drinking water source.
If you are doing a multi-day trip or a particularly long hike, you will be required to take more water than you can justifiably carry. You will have to purify water along the way by either using a water purification table or by boiling the water first.
Factor this into your decision of which size bladder you require for your trip and try to carry enough water with you that water purification becomes a daily task instead of an hourly one. While there are water purifying straws and bottles on the market, these do not easily work with hydration bladders so a purifying tablet or boiling the water and allowing it to cool first is a much better option.
How Do I Disinfect My Hydration Bladder?
Your hydration bladder should be cleaned regularly to ensure that bacteria and mold do not gather inside, as this can be terrible for your health. The shape of hydration bladders make them difficult to sanitize, but it is essential that you routinely do so.
You will need a brush, some dish soap, and some cleaning material. There are specialized brushes that are soft enough on the inside of the membrane to reduce the risk of damage and to clean the tube system as well, both of which you should be able to find in any good outdoor shop. Camelbak produces a specialized cleaning material that isn’t essential, but certainly very helpful. These can be replaced with baking soda, bleach, lemon juice, or denture cleaning tablets.
First, you will need to fill the bladder with warm water. Add your cleaning material, seal the bladder, and shake it. Begin to drain the bladder by letting the mixture of water and cleaner flow through the tube and into the sink, but stop it so that the mixture is in contact with all of the inside surfaces. After 20 minutes or so, drain the rest.
The second step is to scrub everything with dish soap and brushes, including the tube and the valve. Then, disassemble, rinse, and let air dry.
Can You Put Ice in a Hydration Pack?
There are two ways you can put ice in a hydration pack. Firstly, you can simply fill the bladder with both ice and water. Be mindful that if you put in too much ice, the entire pack could freeze until it is thawed out again. Secondly, bear in mind that some ice cubes have sharp edges that could potentially damage the bladder, so be careful.
The other method involves filling the bladder with water and placing it in the freezer for a few hours. When doing this, ensure that you don’t fill the bladder to the brink as ice takes up more space than water, and the expansion could damage the bladder. Also bear in mind that the pack will be a solid shape after this, so try to freeze it in whatever shape you want it to be to fit in your backpack.
It is not advisable to ice in your hydration bladder while in cooler conditions, as it will take a long time to melt and water might not be available as quickly as you require it. You can buy specialized linings to place around hydration bladders to protect them from damage and to keep them warm enough that they should not freeze in cold conditions.
For carrying hot liquids, it is not advisable to use a bladder system but instead a specialized thermos or something similar. Boiling liquids can damage the system and also burn you through the membrane.
Backpacking Hydration Bladder FAQ
As detailed above, absolutely yes. Many backpacks come with specifically built features to allow seamless use with a bladder. Other backpacks are designed only to carry water like this, which are particularly good for trail runners but often a little restrictive for day hikers or overnight campers.
This depends on which unit in which military, however, Camelbak designed a 25-liter reservoir pack for the military called the SquadBak which is often used for carrying large amounts of water. For most outdoor activities, 25 liters is far too much and it is much wiser to carry water purification methods with you instead.