What is a Fly Fishing Dropper Rig & How to Tie One
Many people underestimate the fly fishing dropper rig, or dry-dropper rig, as a solid choice for fly-fishing. Getting used to and eventually mastering a dropper rig will take some practice and patience. If you decide to invest in trying to use a dropper rig, you may find it advantageous in certain fishing locations.
If you want to learn more about the construction and advantages of a dry-dropper rig, you have come to the right place. Read on to learn more about what a dropper rig is and how to make your own.
Contents
What is a Dropper Rig?
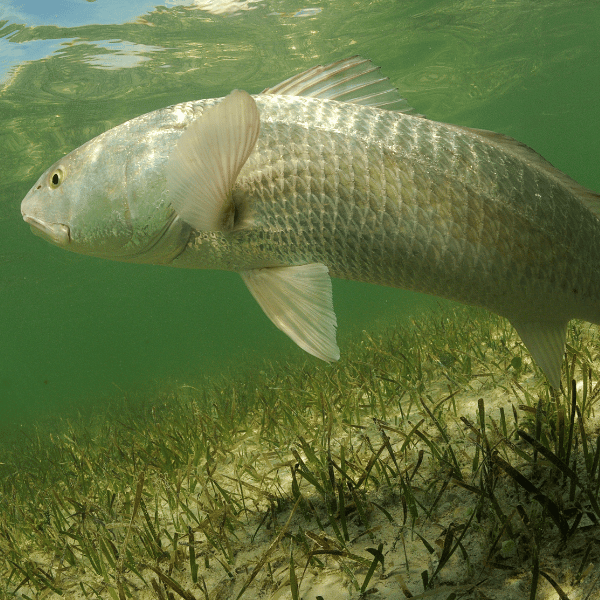
A dropper rig, also known as a dry-dropper rig, is a simple tapering lure system that employs a dry fly at the end of your leader to cover midrange feeding zones and a nymph attached to the end of the tippet section for lower feeding zones. This rig is great for fish that lie just beneath the stream’s surface if you are looking for a subsurface nymph rig.
The length and construction of a dry-dropper rig will depend on the user’s preference and the conditions in which you are fishing, such as depth and geographical location.
In this particular setup, many experienced fishermen use the dry as a makeshift indicator for the nymph. This is a great way to get around needing a makeshift cork or indicator on your rig once you start to get the feel of fly-fishing.
Another advantage to the dropper rig is that you can target fish to take your dry fly near the surface. Alternatively, larger game trout and other fish usually lie at the bottom of the stream to hide in pools of water with less motion near rocks and debris on the riverbed floor.
Because the dry-dropper rig system effectively drops your dry fly and nymph into the depths of the streams in which you are fishing, you will be able to attract big game fish that do not want to travel great distances for their morning meal.
Many people rig with multiple nymph lures which are heavier and sinks the lures that you are using deep below the surface for big fish game. The disadvantage to this, though, is that this limits the lure type making it less appealing to different kinds of fish.
Having a dry-dropper and a nymph will suit more game preferences and appeal to a greater amount of fish lurking below the surface. The lightweight design of the dropper rig promotes an effective floating action that will make the bait appealing to unsuspecting fish prey, especially if aquatic insects are emerging just before a hatch.
If you are looking for stealth, rest assured knowing that the dry fly is one of the least intrusive rigs on the market, so it is perfect for stubborn fish or tight aquatic spaces. Your dry-dropper and nymph will have an effective floating motion, and the tapered line will disguise your lure and promote a feeding frenzy.
How to Tie a Fly-Fishing Dropper Rig
The basic steps on how to tie a fly-fishing dropper rig are:
- Attach the Leader
- Adjust the Tippet and Leader
- Attach the First Fly
- Connect the Second Tippet Section
- Attach the Dropper
Let’s dive further into each step.
Attach the Leader
When attaching your first dry fly lure, you will want to make sure to keep the line a bit further behind your first fly. We recommend using a 9 ft. tapered, sink-resistant leader on a 9-foot rod. You can string the rod with a standard 5 weight line, or something similar. Attach the butt end of the leader section to your line with a Nail Knot or a Handshake Loop Knot to make sure that your line has a tight connection.
Adjust the Tippet and Leader
While this may boil down to personal preference, some anglers claim that extending the leader with a section of tippet will extend the life and enhance the performance of your leader. It is recommended to keep the length of the tippet under 12 inches for optimal performance and longevity. This knot is best secured with a simple surgeon’s knot. Make sure to trim each of your knots because fish will be deterred from messy or visible line rig systems employing your lures.
Attach the First Fly
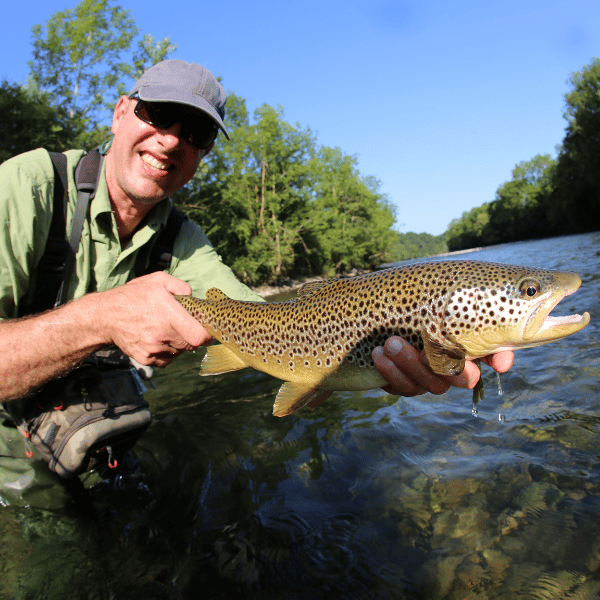
One of the best advantages of a typical dry dropper is being able to use the fly as both a lure and an indicator as to how your sub-stream nymph is performing under the surface level. This rig proves to be great for practice and experience building that will turn you into a fly-fishing master.
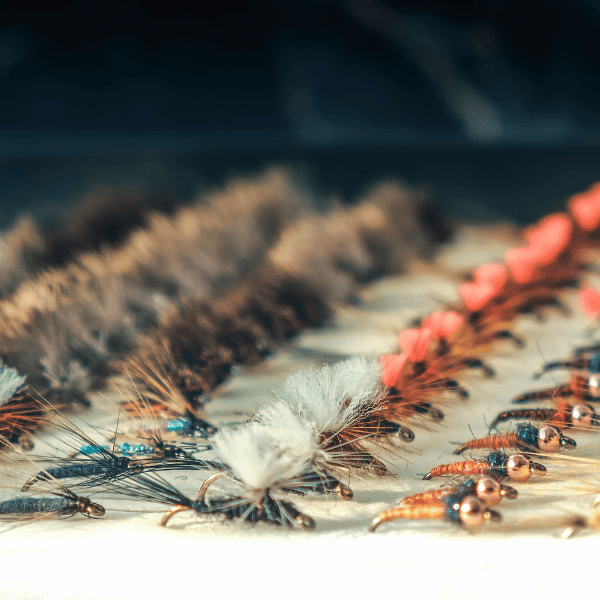
Make sure to pick a model that resembles some of the aquatic life surrounding your fishing area, and make sure it is not too heavy. You can tell the fly is too heavy for your rig system if it sinks too easily or drags the second dropper fly improperly.
Use a standard Clinch Knot to secure your first fly to your drop rig. Use an improved Clinch Knot Design for smooth action and improved drag resistance. Dress the lead fly with a good dose of floatant on your fly after setting up the rig to make the indicator visible to unsuspecting fish prey.
Connect the Second Tippet Section
The second tippet section of your rig will vary in length depending on usage and the depth of the water in which you are fly-fishing. You may be trying to mimic the surface foam mid-range stream nymphs. If so, you will want the second section of your tippet to be 12 inches or less.
You may want the second lure to dance among the rocks on the riverbed. You can use a longer tippet section of up to three or four feet, depending on the depth of the waters in which you are casting your line. Remember that you do not want your rig to exceed past 1 ½ the amount of depth of the riverbed in which you are fishing to avoid any unnecessary snags or disruptions in the floating mechanism of your drop rig’s design.
Attach the Dropper
Your drop rig is almost complete. The last part of the process is to incorporate a dropper fly. Do some research about the common food sources of the game you are trying to attract in your area to find a dropper that imitates the aquatic life found in the water source.
You can use a small drop fly, like the #22 RS2, or a big drop fly, such as the #14 Prince with sturdy bead heads. The heavier the fly, the more buoyant lead fly you must-have for proper functionality and smooth casting. Use a Simple Clinch Knot to attach the second fly to the end of the second section of your tippet. Make sure to trim the excess line and give it a firm tug to resist tight snags.
Fly Fishing Dropper Length
The length of your rig system will depend on personal preference and geographical strategy based on the conditions of the water source in which you are fly-fishing. The overall length of your rig will want to sit anywhere from 1 to 1 ½ times the depth of the water source in which you are casting.
If you want to imitate nymphs dancing on the riverbed floor, you will want your taper section to be over 12 inches long, preferably 2 or 3 feet. If you are trying to imitate midstream nymphs for more active hunting fish, consider making the taper section 12 inches or less.
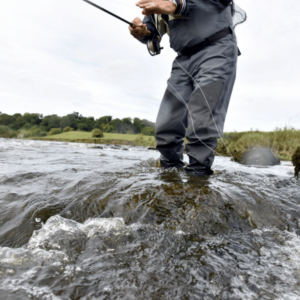
If your rig system is not getting enough feeding action, consider adjusting the length of your taper or moving to another place downstream that may have better-suited conditions for your rig’s length.
A fisherman is only as good as their equipment and their knowledge on how to use it, and practice makes perfect. Pay attention to the performance of your rig with each cast to determine if the length of your rig should be adjusted.
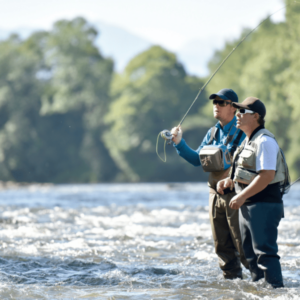
How to Rig with Multiple Flies
Many experienced fly-fishing masters like to add multiple flies onto their tapered system, and you can add a new fly onto the line using several tippets. Make sure to attach the dropper tippet to the eye of the hook to combat resistance that you may find and snags that may pull the lure out of your fish game’s mouth.
Using multiple rigs will take practice and a knowledge of how your line may be affected when fish take one of the lures into a brush or rocky area. You want to make sure your line is secure, and all your knots have the proper amount of tension to effectively hook your lure onto fish prey. Make sure to have enough buoyancy on your first fly to combat the added weight of each fly.